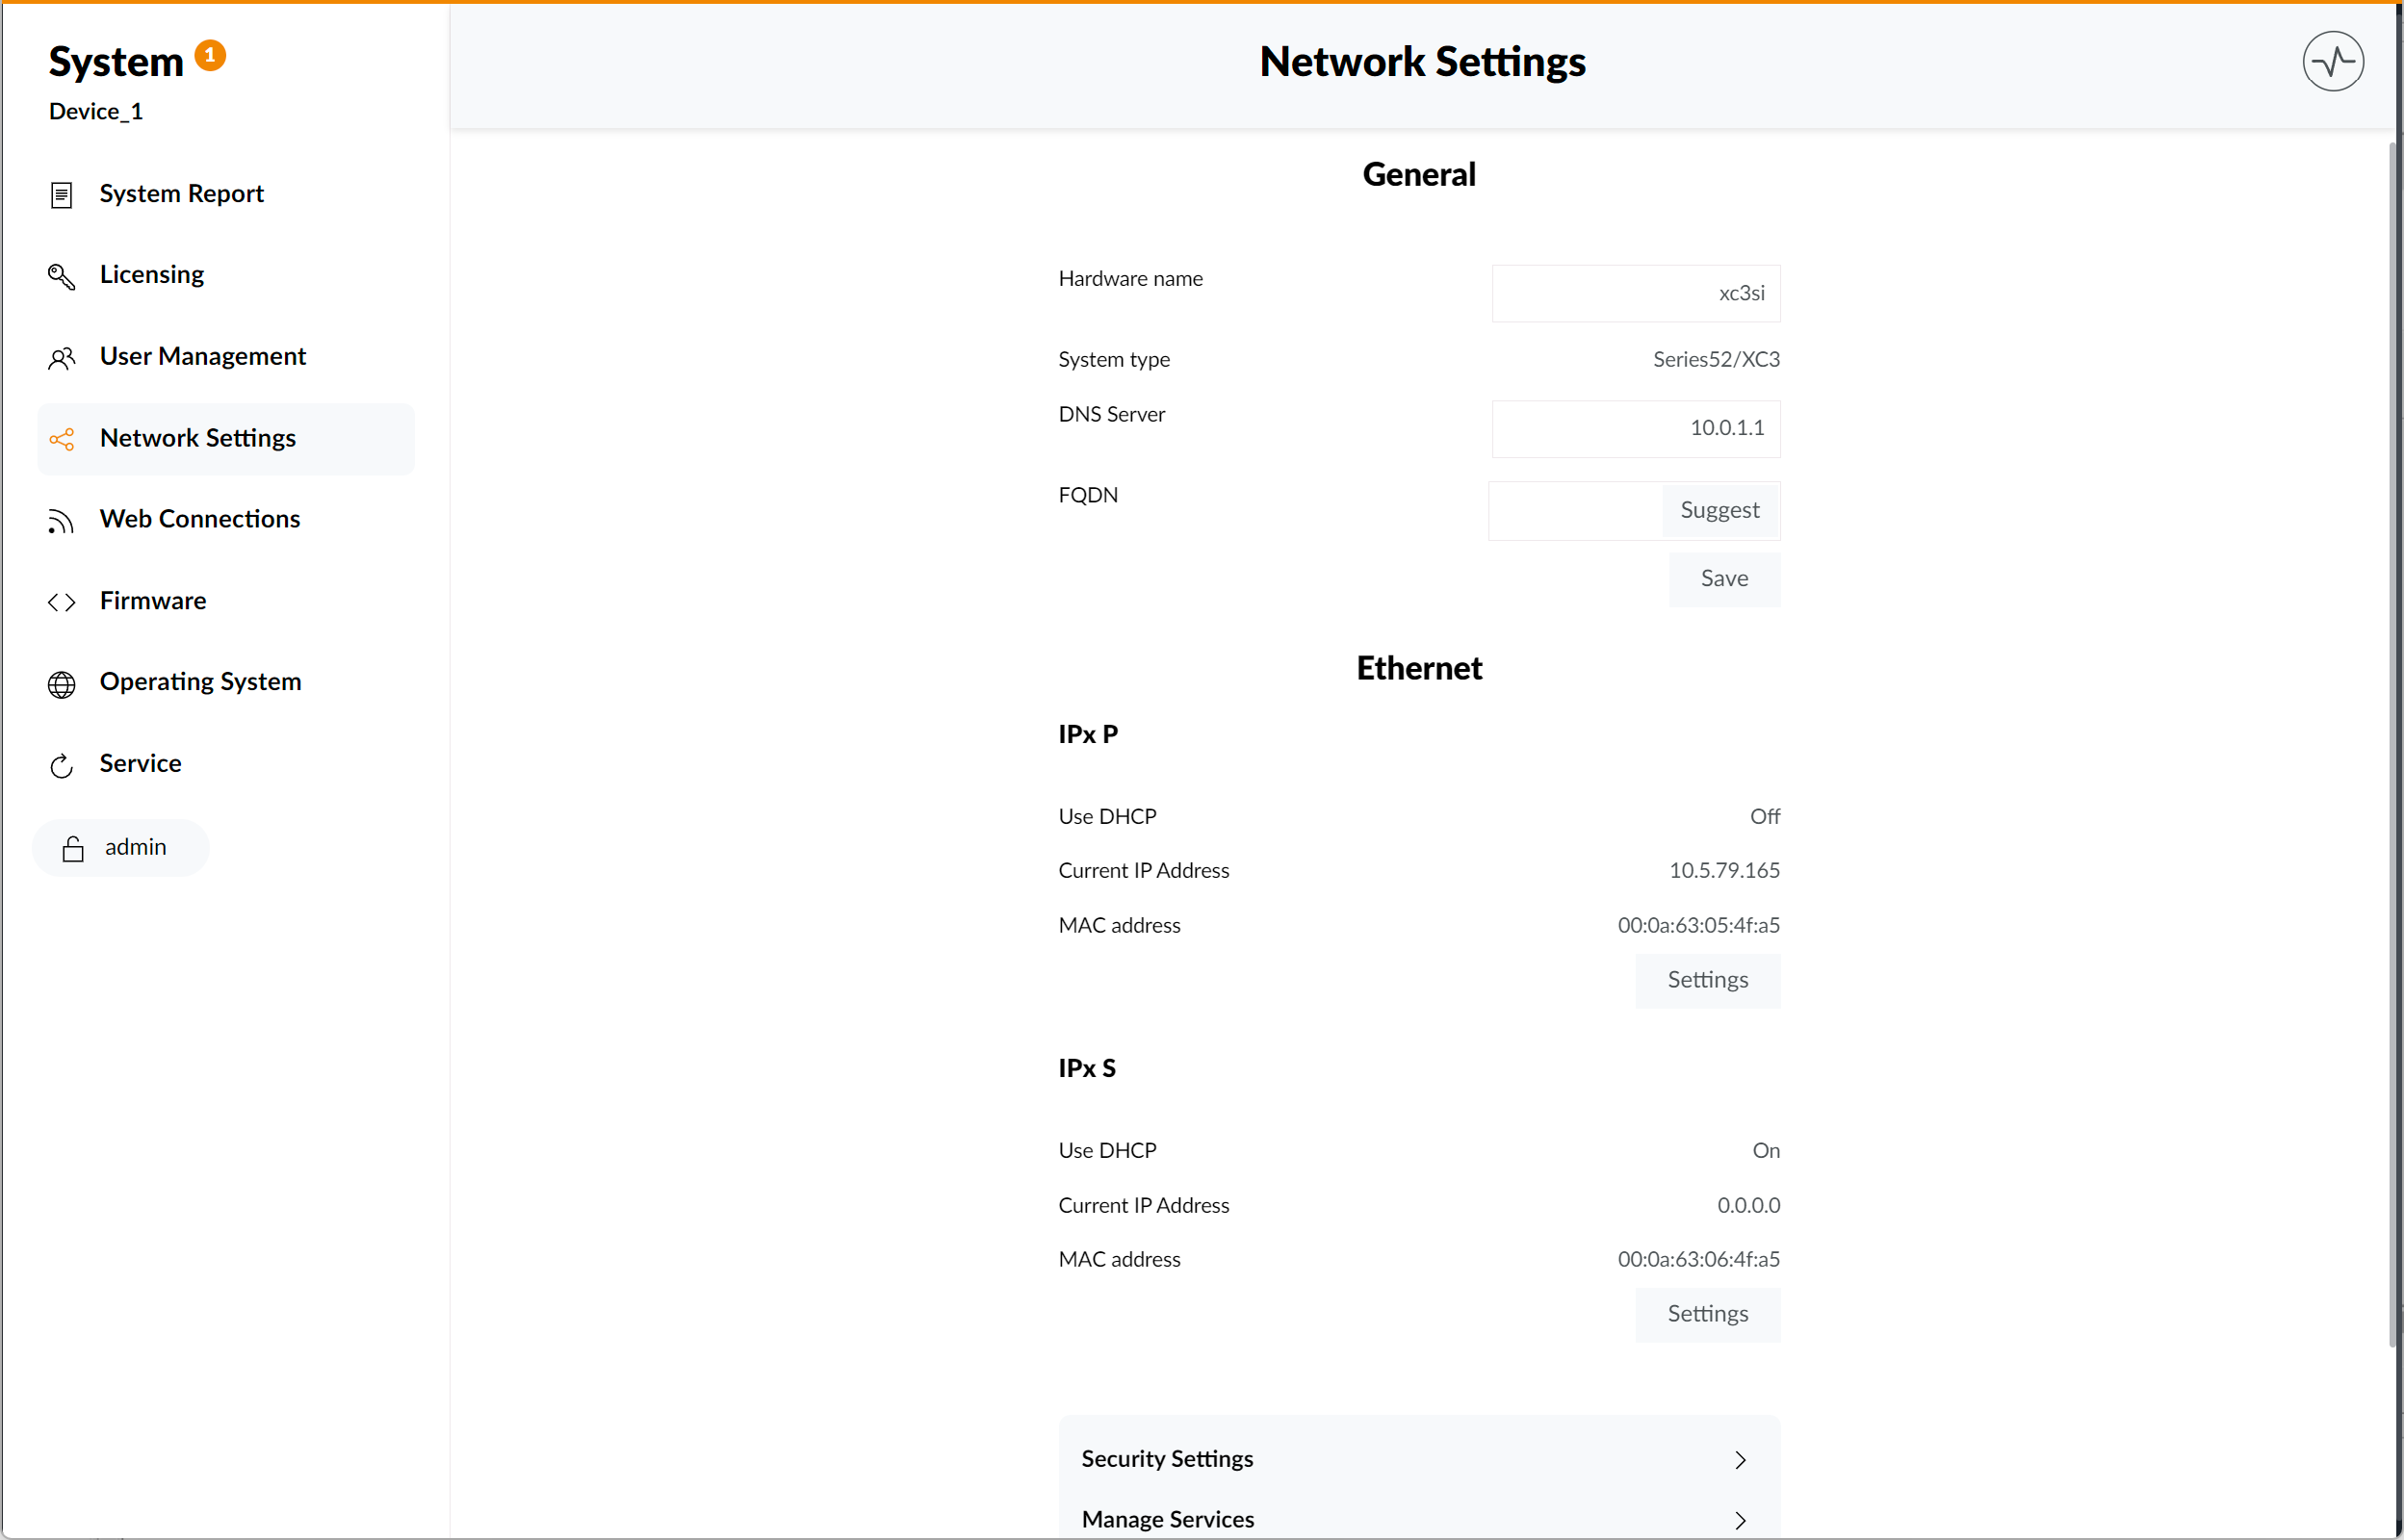
Network Settings
The Network Settings page allows you to edit and set up network-related settings of the core device.
Valid user login with Configuration and Maintenance rights required to edit these settings. See Toolbox Setup.
After changing any setting, make sure to click Save at the bottom of the page.

General
- Device Name: the hardware name of the core device.
Ethernet
Network
The Network settings section can change the settings of the ETH interface of the core device. The following settings can be changed:
IP AddressSubnet MaskBroadcast AddressGatewayUse DHCP
NTP
In the NTP settings section, you can add one Primary time server such as up to two additional (fallback) time servers.
Setup Timezone and DST
Setup Timezone and DST page requires a valid user login with Configuration and Maintenance rights to view and edit these settings. See Toolbox Setup.
Timezone
To set up your device's timezone:
- Set
Offset from UTC (GMT) to local time. - Click
Saveat the bottom of the page.
Daylight Saving Time (DST)
To set up DST:
- Check
Use DSTto enable automatic DST switching. - Set up
Offset from UTC (GMT) to local DST time. - Select begin and end time of DST.
- Click
Saveat the bottom of the page.
Setup SNMP
Setup SNMP page requires a valid user login with Configuration and Maintenance rights to view and edit these settings. See Toolbox Setup.
To set up SNMP:
- In Toolbox configuration, go to Device, Options Tab and check
Use 52-8591 SNMP Support. - Optional: In Toolbox configuration, go to Device / I/O Overview, click
Addand selectSNMP User Logics Virtual SNMP Module. Now you can add up to 20 custom logical sources and also send traps on status change if configured. - Check
Enable SNMPto enable SNMP on the firmware side. - Select
SNMP Version. Versions available areSNMP V1andSNMP V2c. - Set your
Community ID. - Add your SNMP Server to the
Whitelist. To do so, enter SNMP Server IP and click+icon on the right of the input field. This is required for security reasons. - Optional: Add one or more
Trap Receiversby entering their IP and clicking+icon on the right of the input field. Then, checkSystem Traps ON.