Network Settings
The Network Settings page allows you to edit and set up network-related settings of the core device.
Valid user login with Configuration and Maintenance rights required to edit these settings. See Toolbox Setup.
After changing any setting, make sure to click Save at the bottom of the page.
General
- Hardware Name: the hardware name of the core device.
- System Type: the system type of your device setup.
- FQDN: this menu option allows you to choose the Project IP address or auto-generate a suggested IP.
Be sure to confirm your decisions by clicking the Save button. Unsaved changes will not be taken over after leaving the Network Settings page.
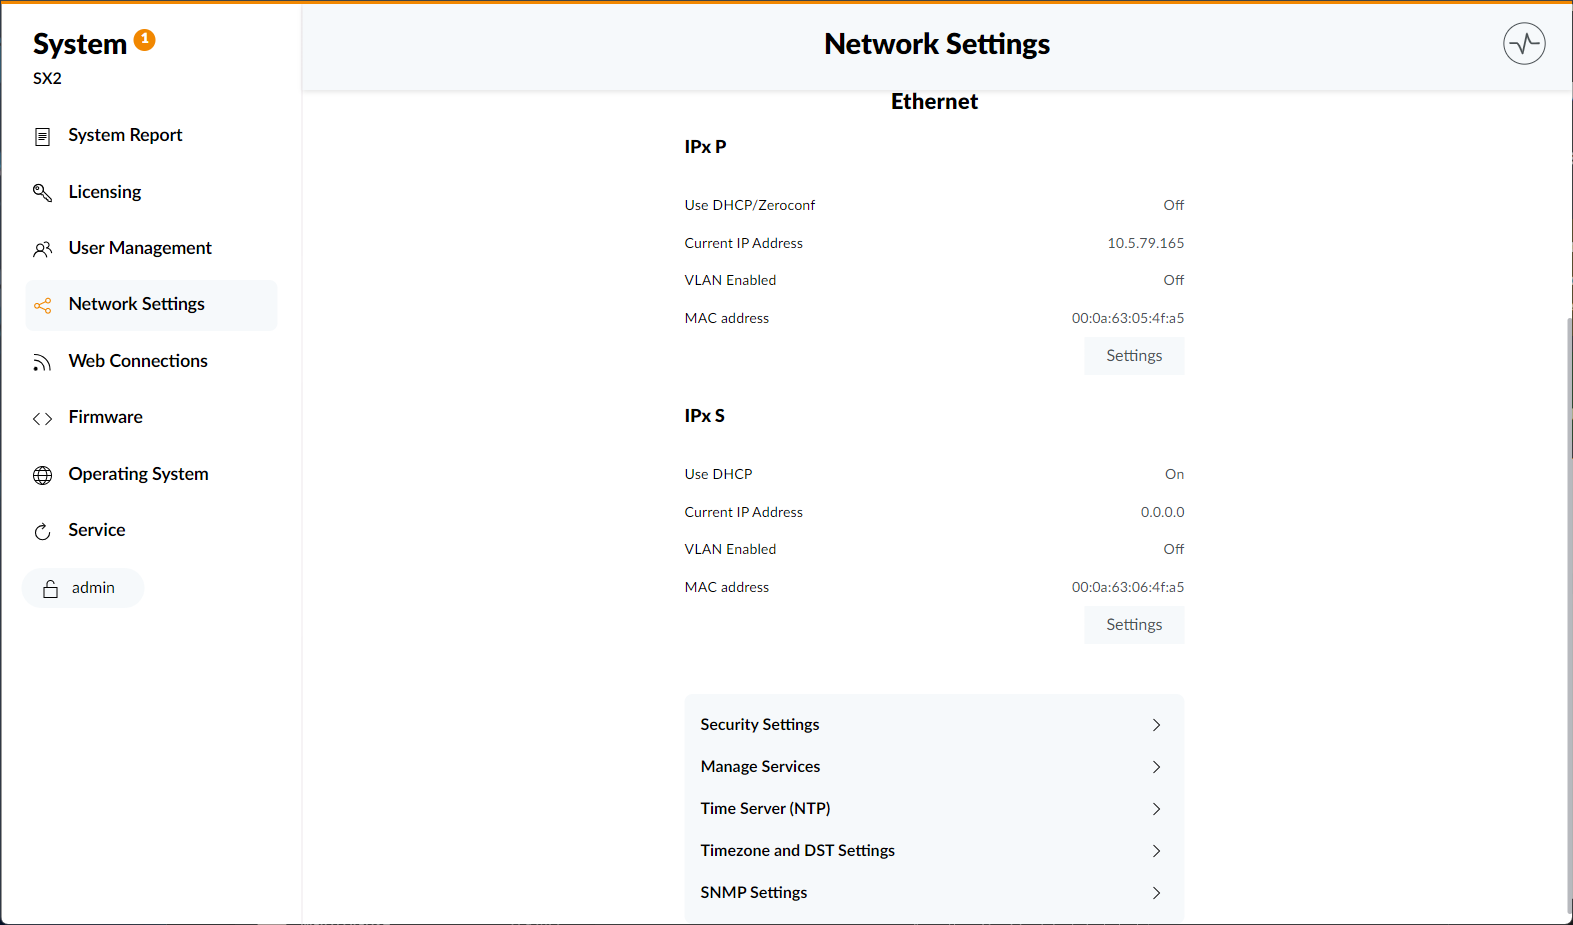
Ethernet
IPxP
The IPxP page can change the settings of the IPxP interface of the core device. The following menu options are displayed:
Use DHCP/Zeroconf ToggleCurrent IP AddressVLAN Enabled ToggleMAC address
For further configuration of the IPx P interface please click on the Settings button.
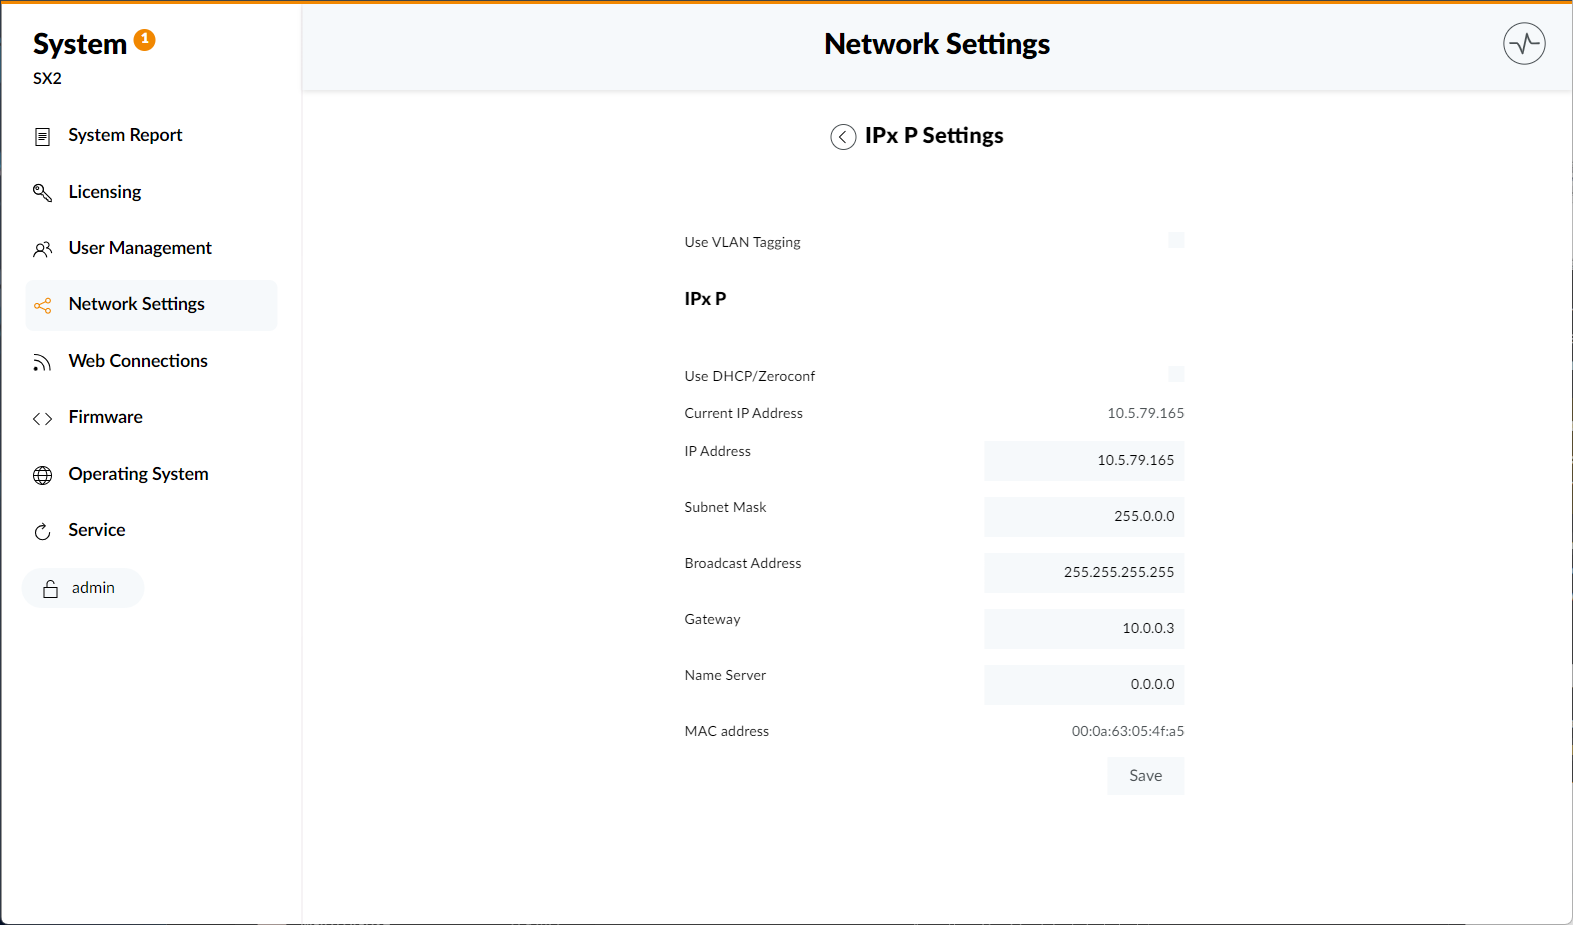
The IPxP Settings page gives further options to configure your IPx P Network Settings:
Use VLAN Tagging ToggleChange IP AddressChange Subnet MaskChange Broadcast AddressChange Gateway AddressChangeName Server
When checking the Use DHCP/Zeroconf option the following menu options will be grayed out:
Change IP AddressChange Subnet MaskChange Broadcast AddressChange Gateway Address
Be sure to confirm your decisions by clicking the Save button. Unsaved changes will not be taken over after leaving the IPxP Settings page.
IPxS
The IPxS page can change the settings of the IPxS interface of the core device. The following menu options are displayed:
Use DHCP ToggleCurrent IP AddressVLAN Enabled ToggleMAC address
For further configuration of the IPxS interface please click on the Settings button.
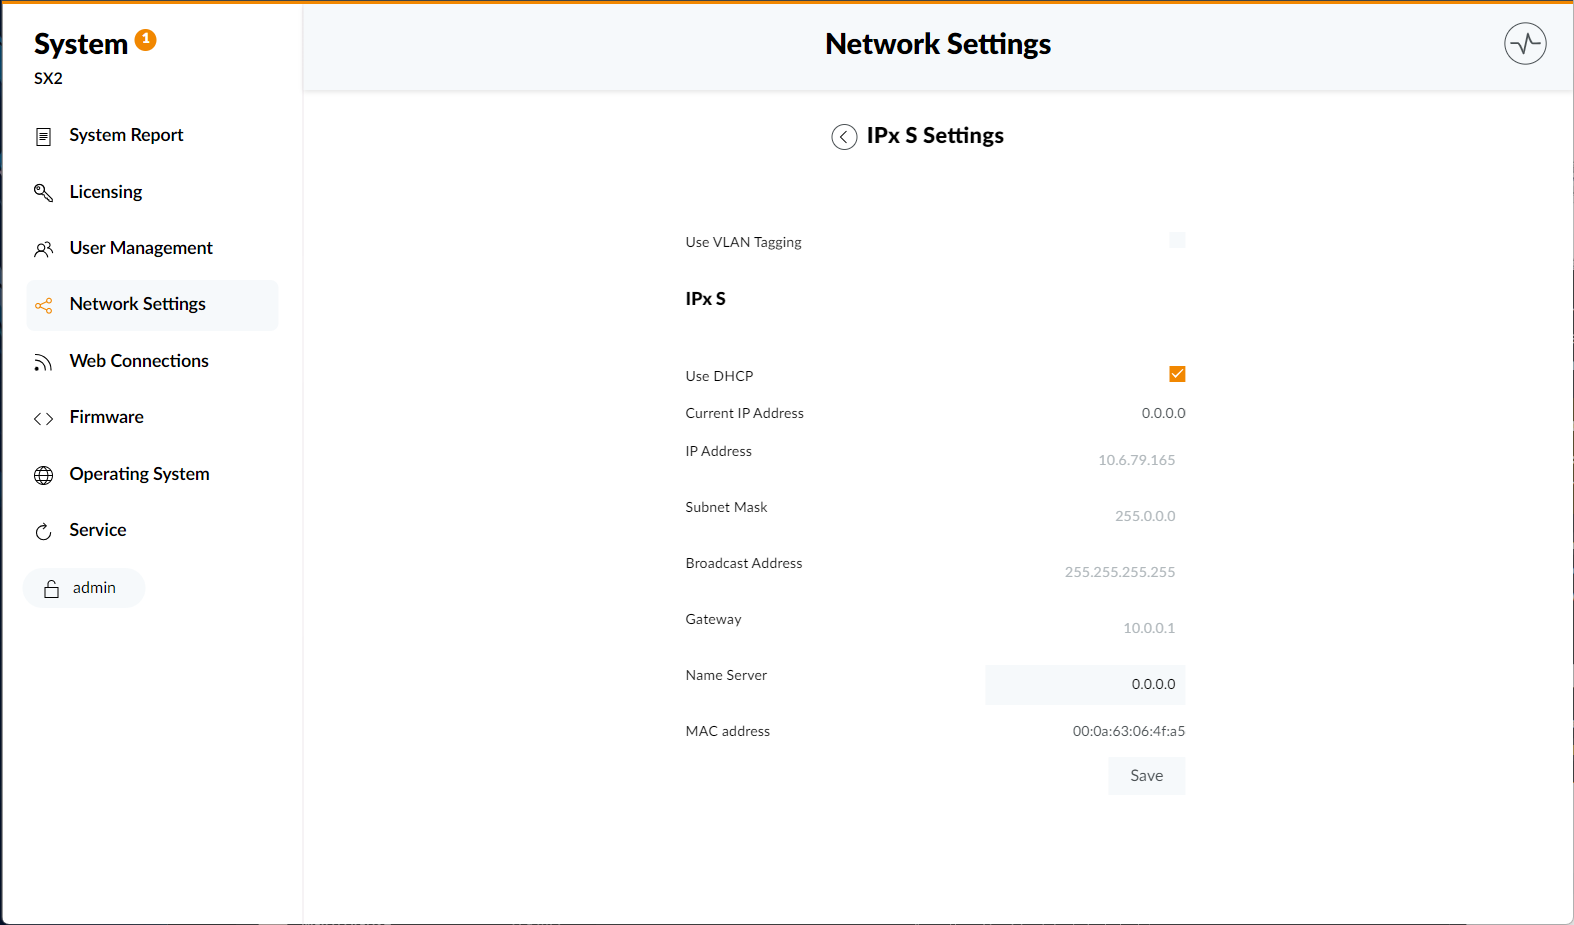
The IPxS Settings page gives further options to configure your IPx P Network Settings:
Use VLAN Tagging ToggleChange IP AddressChange/View Subnet MaskChange/View Broadcast AddressChange/View Gateway AddressChange/View Name Server
When checking the Use DHCP option the following menu options will be grayed out:
Change IP AddressChange Subnet MaskChange Broadcast AddressChange Gateway Address
Be sure to confirm your decisions by clicking the Save button. Unsaved changes will not be taken over after leaving the IPx S Settings page.
Security Settings
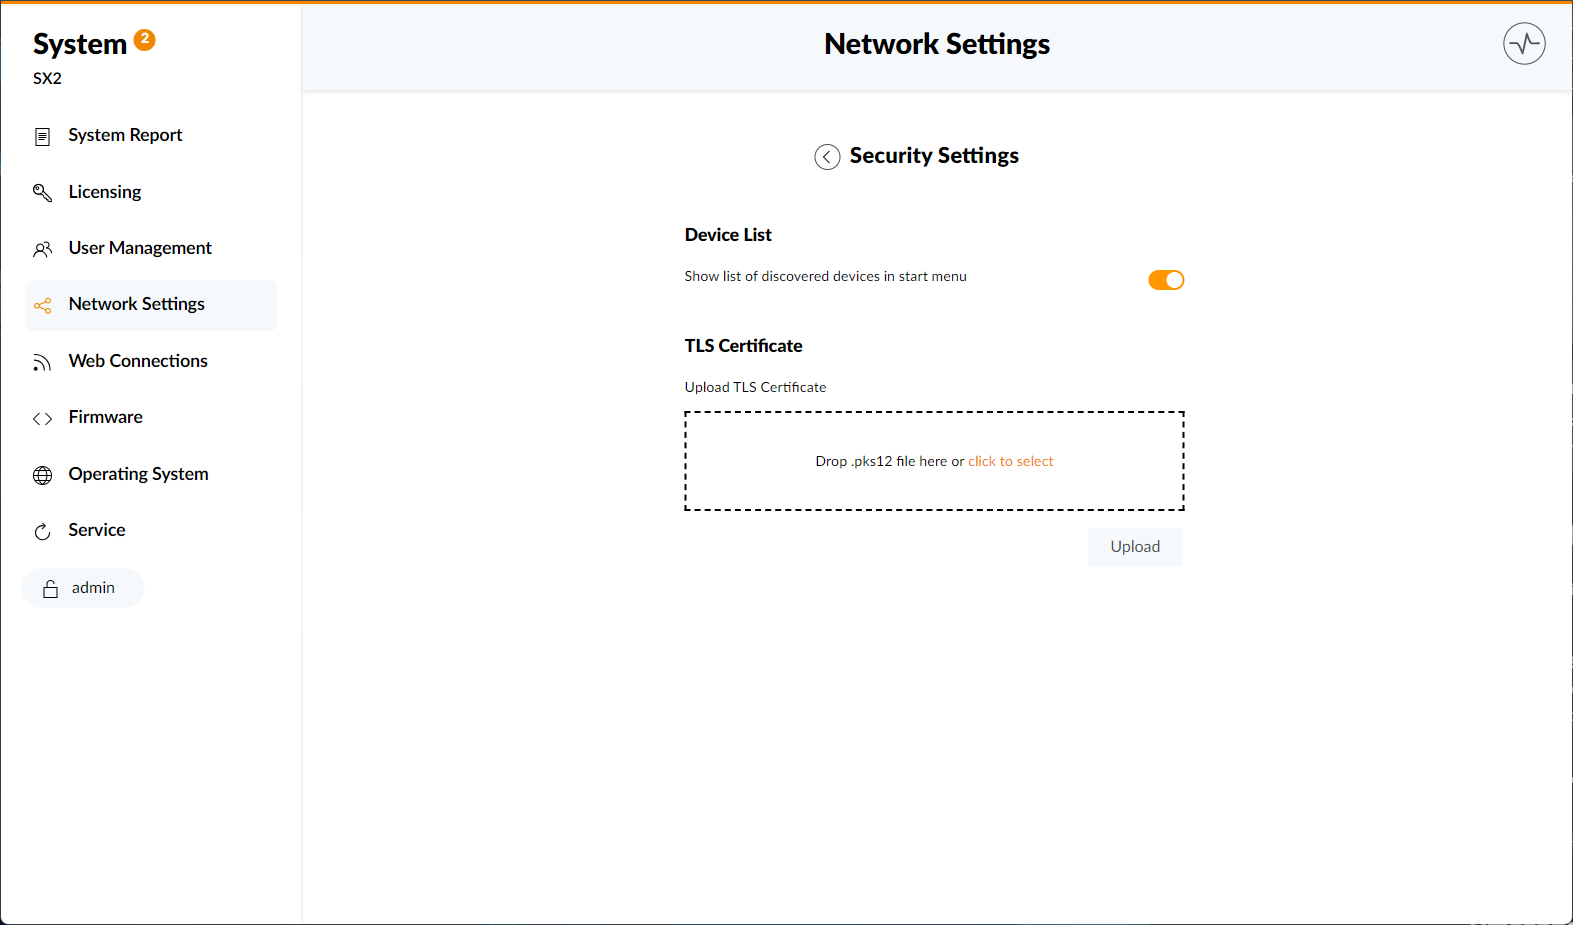
The Security Settings page gives an overview over the systems TLS Certificate (if already added to the system). If you want to add a valid TLS certificate to your system, please drop the certificate in the marked area or click click to select.
Additionally you can toggle the Device List menu option to always show a list of discovered devices logged into the system in the start menu.
Be sure to confirm the upload by clicking the Upload button. Unsaved changes will not be taken over and the chosen TLS Certificate will not be added to the system.
Manage Services

The Manage Services page allows for further network costumisation Here you can view and enable a list of available service options, that can be toggled for IPxP and IPxS separately:
DHD ECPDHD User ServerWeb AppsWeb Apps SSL/TLS securedSNMPEmber+mDNS Device DiscoveryNTP ServerOperation Server CommunicationDHD Support Access
You are also able to chose between preset services via the Select Preset menu option. These can be chosen from either Public or Internal presets. Options for IPxP and IPxS are available.
Network specifications from documentation apply.
Be sure to confirm your decisions by clicking the Save button. Unsaved changes will not be taken over after leaving the Manage Devices page.
DHD Logic Exchange
DHD devices exchange logical and routing information between each other and DHD Operation Server. The DHD Logic Exchange menu allows you to set up, if the exchange will be submitted via IPx P or IPx S Interface. You can disable this feature as well, using the drop down menu option Disabled.
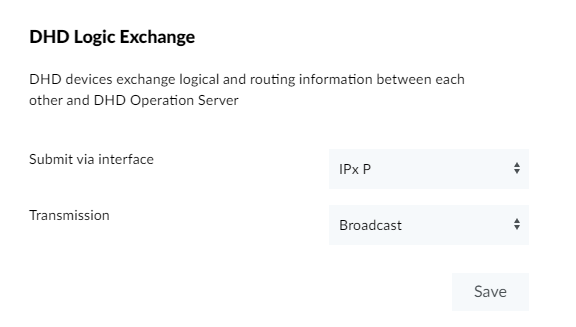
Via the Transmission menu you can toggle, if the logic exchange will be transmitted through Broadcast or Multicast
Be sure to confirm your decisions by clicking the Save button. Unsaved changes will not be taken over after leaving the Manage Devices page.
DHD Connectivity
DHD devices can interconnect with other DHD devices and applications. You can choose on which interface these services are available via the DHD Connectivity menu.
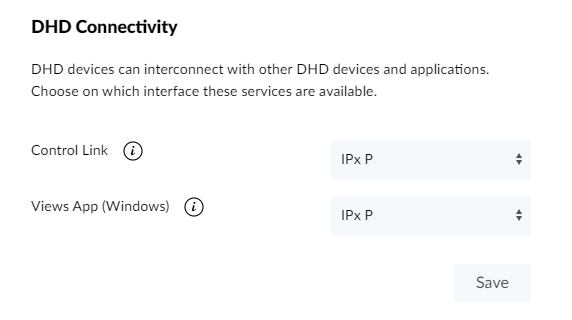
Control Link option requires License 52-8589.
Views App (Windows) option requires License 52-8511.
Be sure to confirm your decisions by clicking the Save button. Unsaved changes will not be taken over after leaving the Manage Devices page.
Time Server (NTP)
The Time Server (NTP) settings page allows you to add one Primary time server, as well as up to two additional (fallback) time servers.
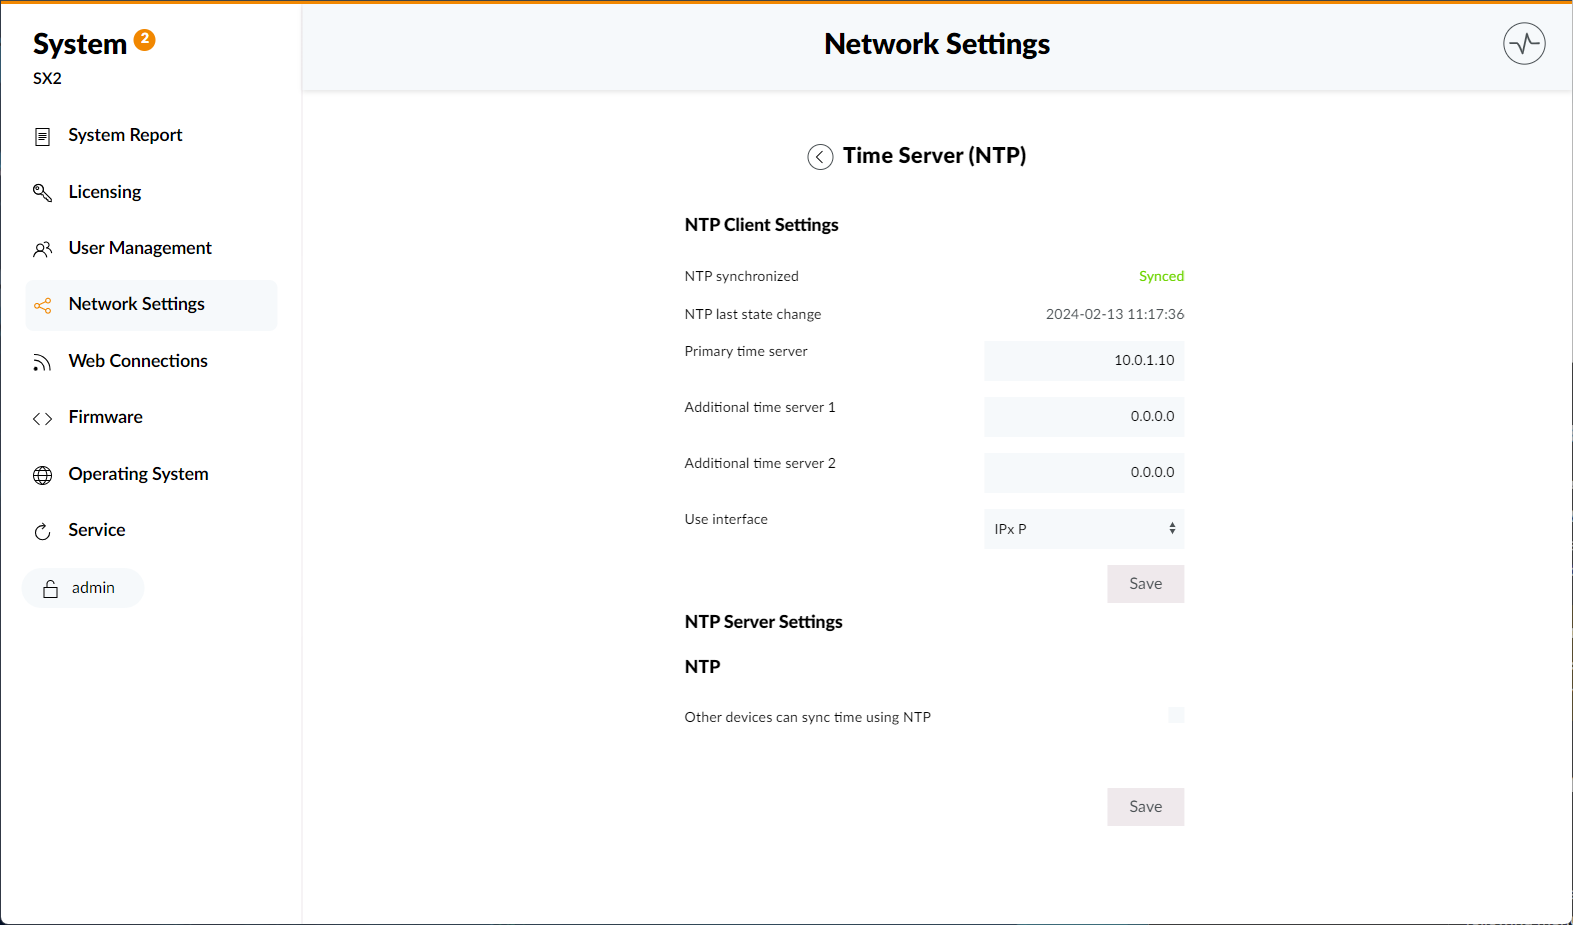
Additionally you can check, if your NTP is synchronized (status marked down via the NTP synchronized menu option) and the date since its last state change.
Via the Use Interface drop down menu, you can decide if the time server will be displayed through the IPxP or IPxS interface of your system.
Be sure to confirm your decisions by clicking the Save button. Unsaved changes will not be taken over after leaving the Time Server (NTP) page.
If you want to allow other devices in your system to sync their time using NTP, you can check the Other devices can sync time using NTP option.
Be sure to confirm this decision by clicking the Save button. Unsaved changes will not be taken over after leaving the Time Server (NTP) page.
Setup Timezone and DST Settings
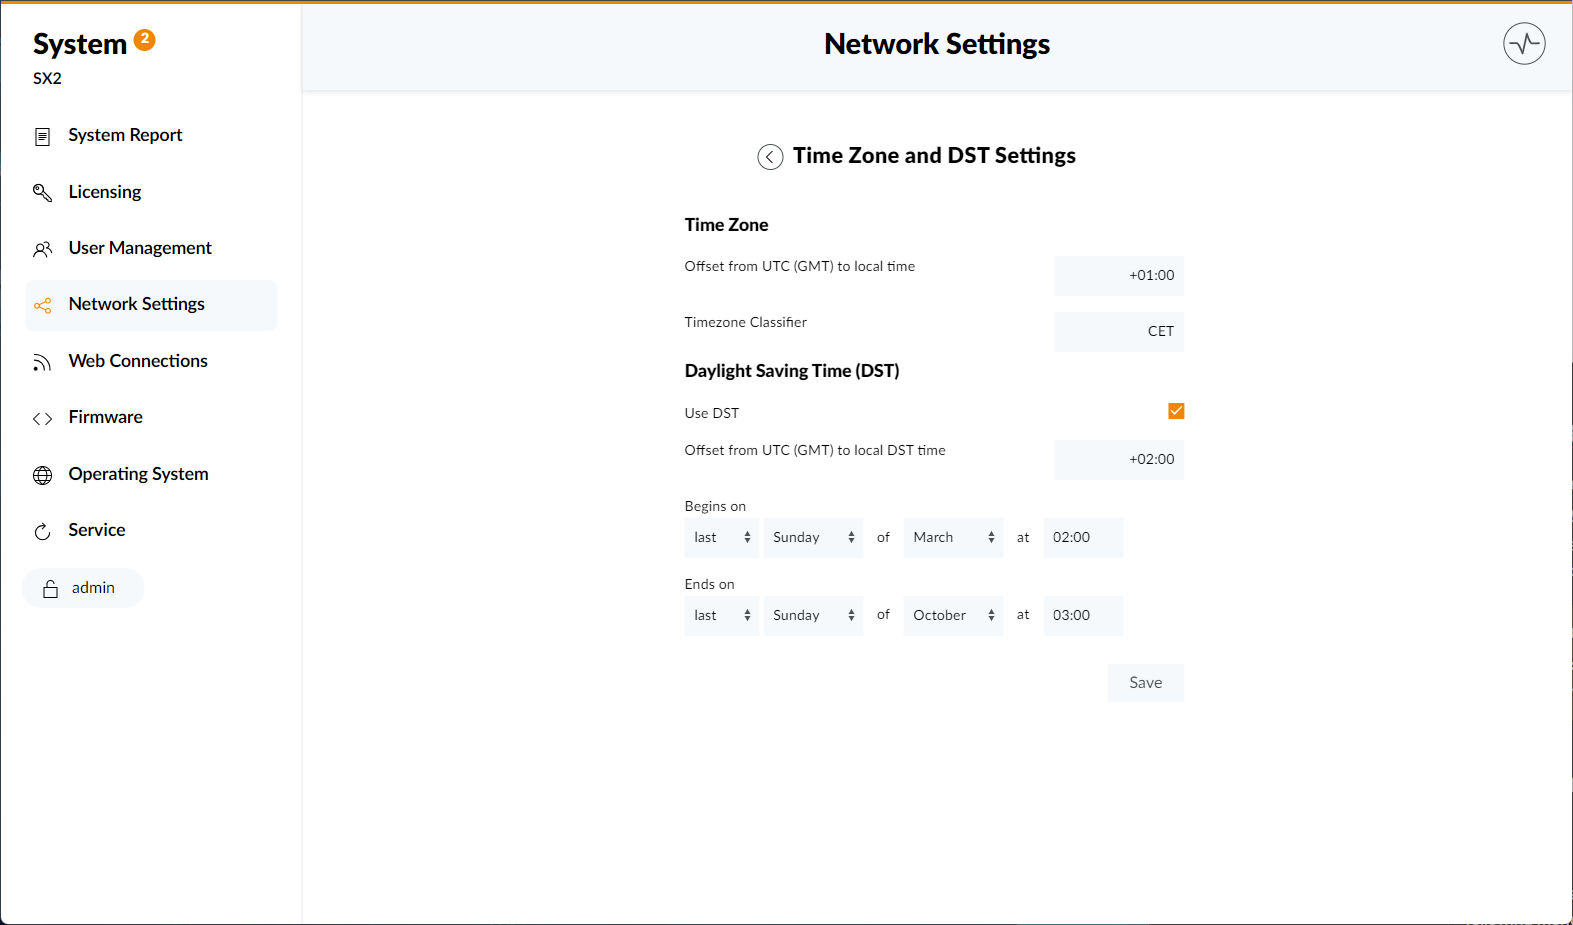
Timezone
To set up your device's timezone:
- Set
Offset from UTC (GMT) to local time - Click
Saveat the bottom of the page
Daylight Saving Time (DST)
To set up DST:
- Check
Use DSTto enable automatic DST switching - Set up
Offset from UTC (GMT) to local DST time - Select begin and end time of DST
- Click
Saveat the bottom of the page
Setup SNMP
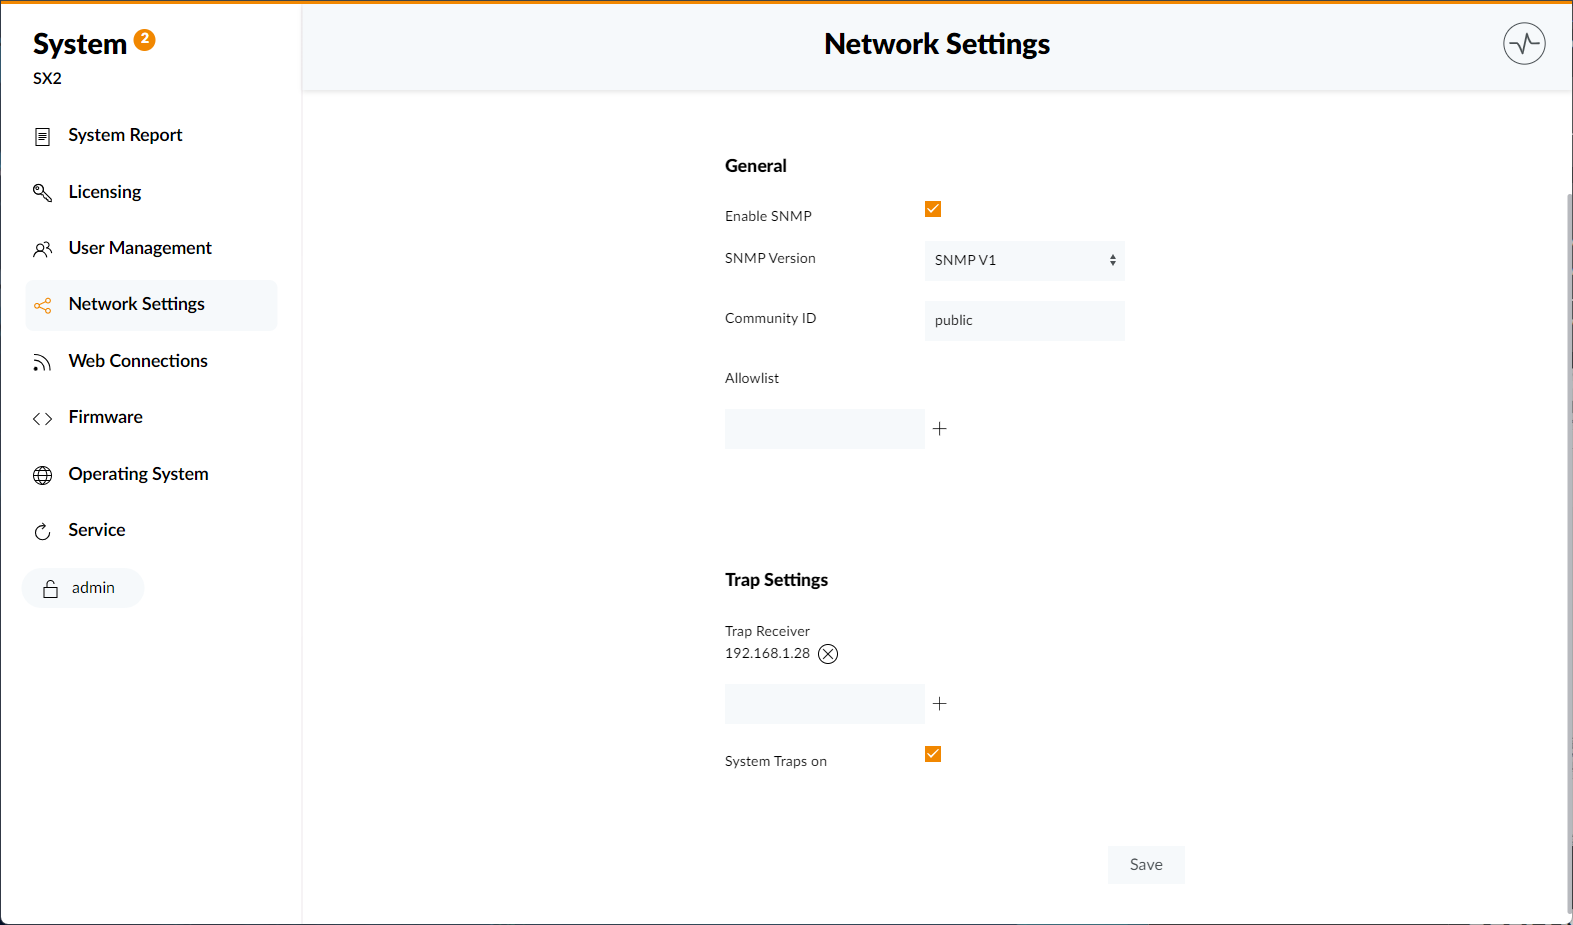
The SNMP Settings page allows you to set up SNMP for your system.
To set up SNMP:
- In Toolbox configuration, go to Device, Options Tab and check
Use 52-8591 SNMP Support. - Optional: In Toolbox configuration, go to Device / I/O Overview, click
Addand selectSNMP User Logics Virtual SNMP Module. Now you can add up to 20 custom logical sources and also send traps on status change if configured. - Check
Enable SNMPon the menu page to enable SNMP on the firmware side. - Select
SNMP Version. Versions available areSNMP V1,SNMP V2candSNMP V3. - Set your
Community ID. - Add your SNMP Server to the
Allowlist. To do so, enter SNMP Server IP and click+icon on the right of the input field. This is required for security reasons. - Optional: Add one or more
Trap Receiversby entering their IP and clicking+icon on the right of the input field. Then, checkSystem Traps ON.
Be sure to confirm your decisions by clicking the Save button. Unsaved changes will not be taken over after leaving the SNMP Settings page.