Service
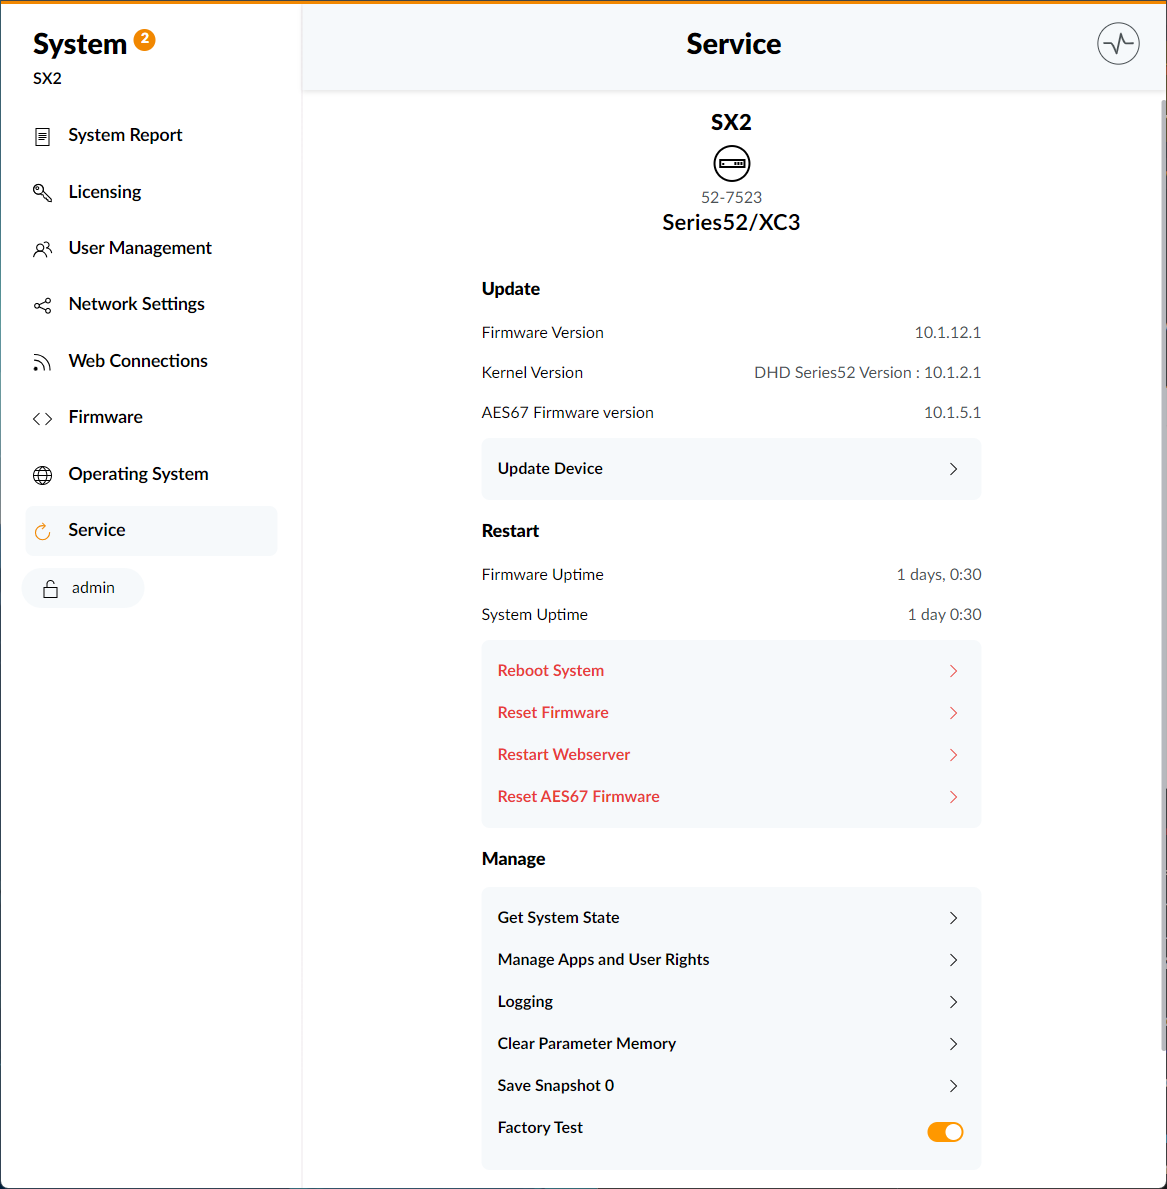
Update Device

Firmware, Kernel as well as AES67 firmware can be updated here, using a single package file. Current versions installed on your device are listed under Installed Versions
To update the firmware or kernel version of your device, see Update Device
Updating can require modifications of your toolbox configuration.
Restart Device�
The Restart menu gives an overview about the ongoing firmware and system uptime. Firmware Uptime will reset after every change made to the firmware. System Uptime will only reset after rebooting the system or switching off the power supply.
Additional system functions are listed below:
Reboot System
This will restart OS, restart firmware, and reload DSP. See Troubleshooting.
Audio will be interrupted!
Reset Firmware
This will reset the firmware, reload DSP, and apply snapshot 0. See Troubleshooting.
Audio will be interrupted!
Restart Webserver
This will restart the web server, reconnecting the device if available and log out the current Web Apps user.
App Access and User Rights will be reset!
Reset AES67 Firmware
This will reset the current AES67 Firmware version installed to the system.
AES67 Audio will be interrupted
This only applies to AES67 Host systems (XC3/XS3 IP Cores and 52-7567 AES67 Ravenna Modules). The AES67 reset must be performed on each AES67 module individually. If a XC3 IP Core is running a integrated 52-8546 AES67 16x16 Channel firmware as well as a 52-7567 AES67 Ravenna module is operated within the same core device or a connected concentrator, this reset must be performed on both the XC3 IP Core as well as the 52-7567 Module, using its individual IP.
Manage Device
Get System State
Get System State will download a full system state, including all files on the device and device information. This could be required for debugging and may be requested by DHD support.
This will cause all open WebApps connections of all clients to reload. Audio and hardware operation are not affected.
Configuration and Maintenance user rights required.
Manage Apps and User Rights
The Manage Apps and user Rights page allows you to enable or disable specific WebApps and manage which user group has the rights to access WebApps or certain functions.
Click here for further information on using and navigating the Manage Apps and User Rights page.
Logging
The Logging service page displays the last log messages stored in chronological order.
Click here for further information on using and navigating the Logging page.
Clear Parameter Memory
Clear Parameter Memory will open up a separate menu. Here you can select one or more virtual mixers to clear, by checking the respective boxes. Click 'Clear' to apply.
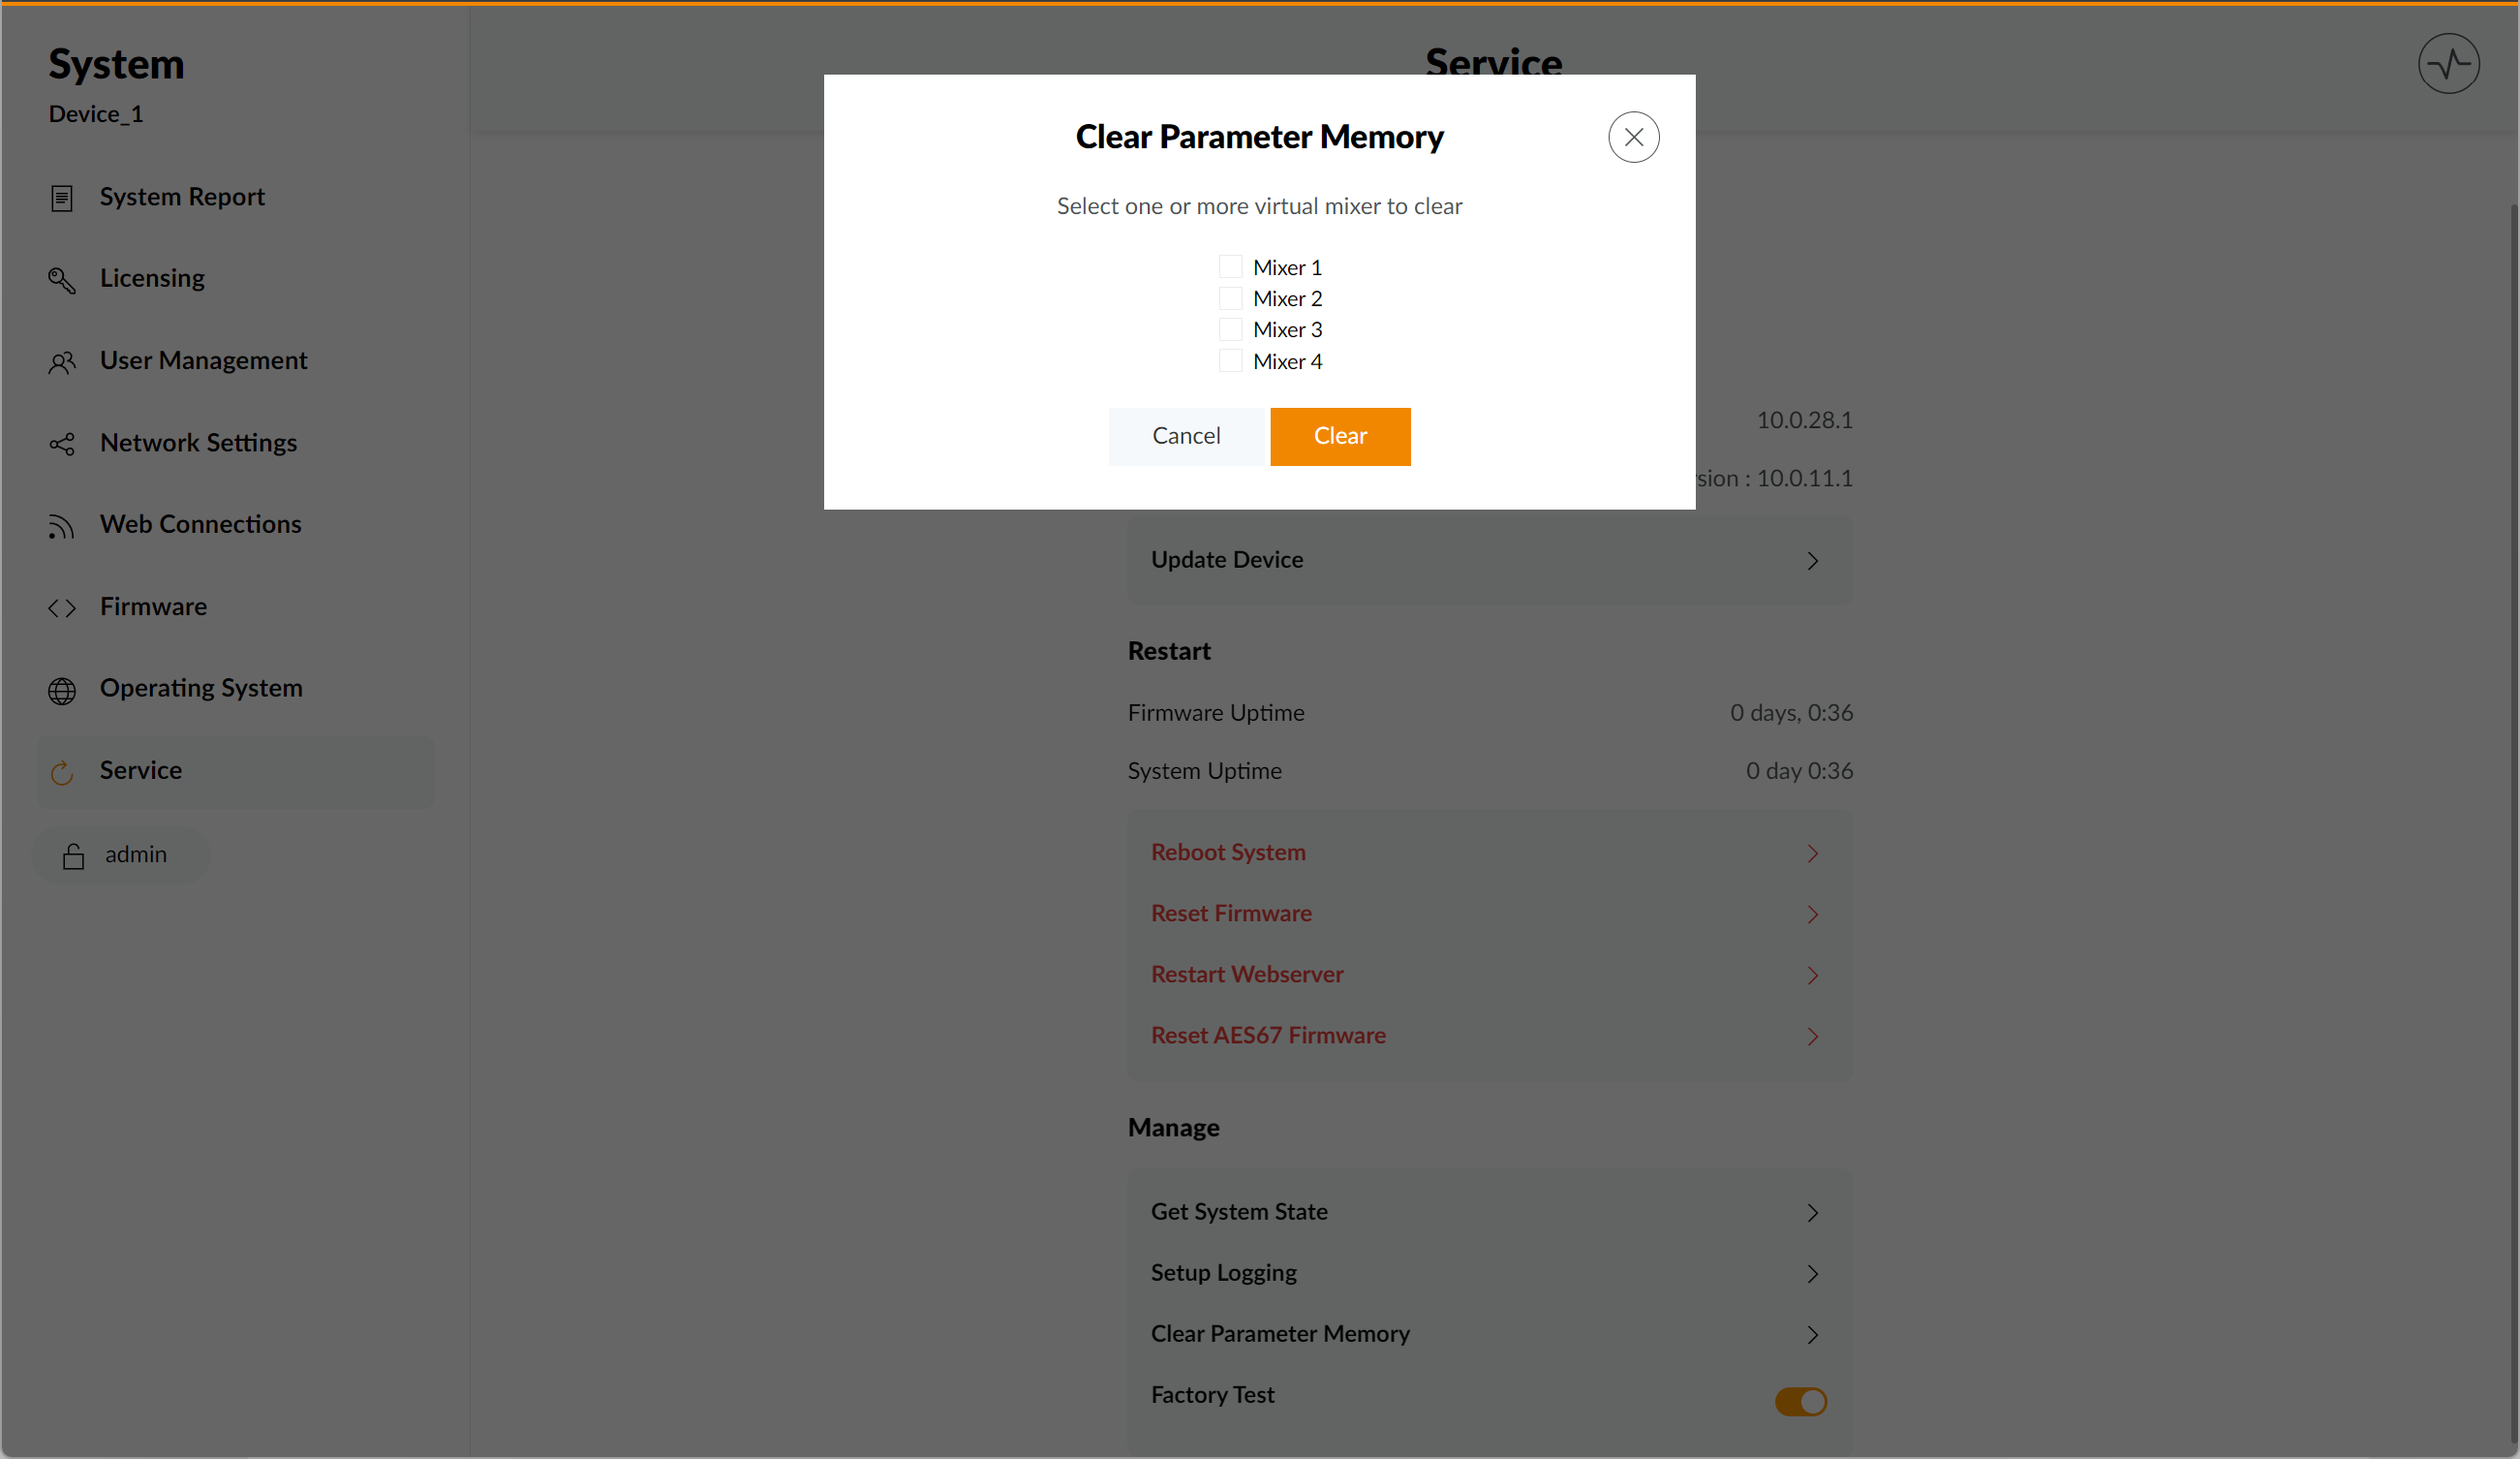
This will immediately reset all cleared parameters to their default settings as defined in Toolbox configuration (e.g. fader channel settings)
Please be sure to confirm any changes by clicking the Clear button.
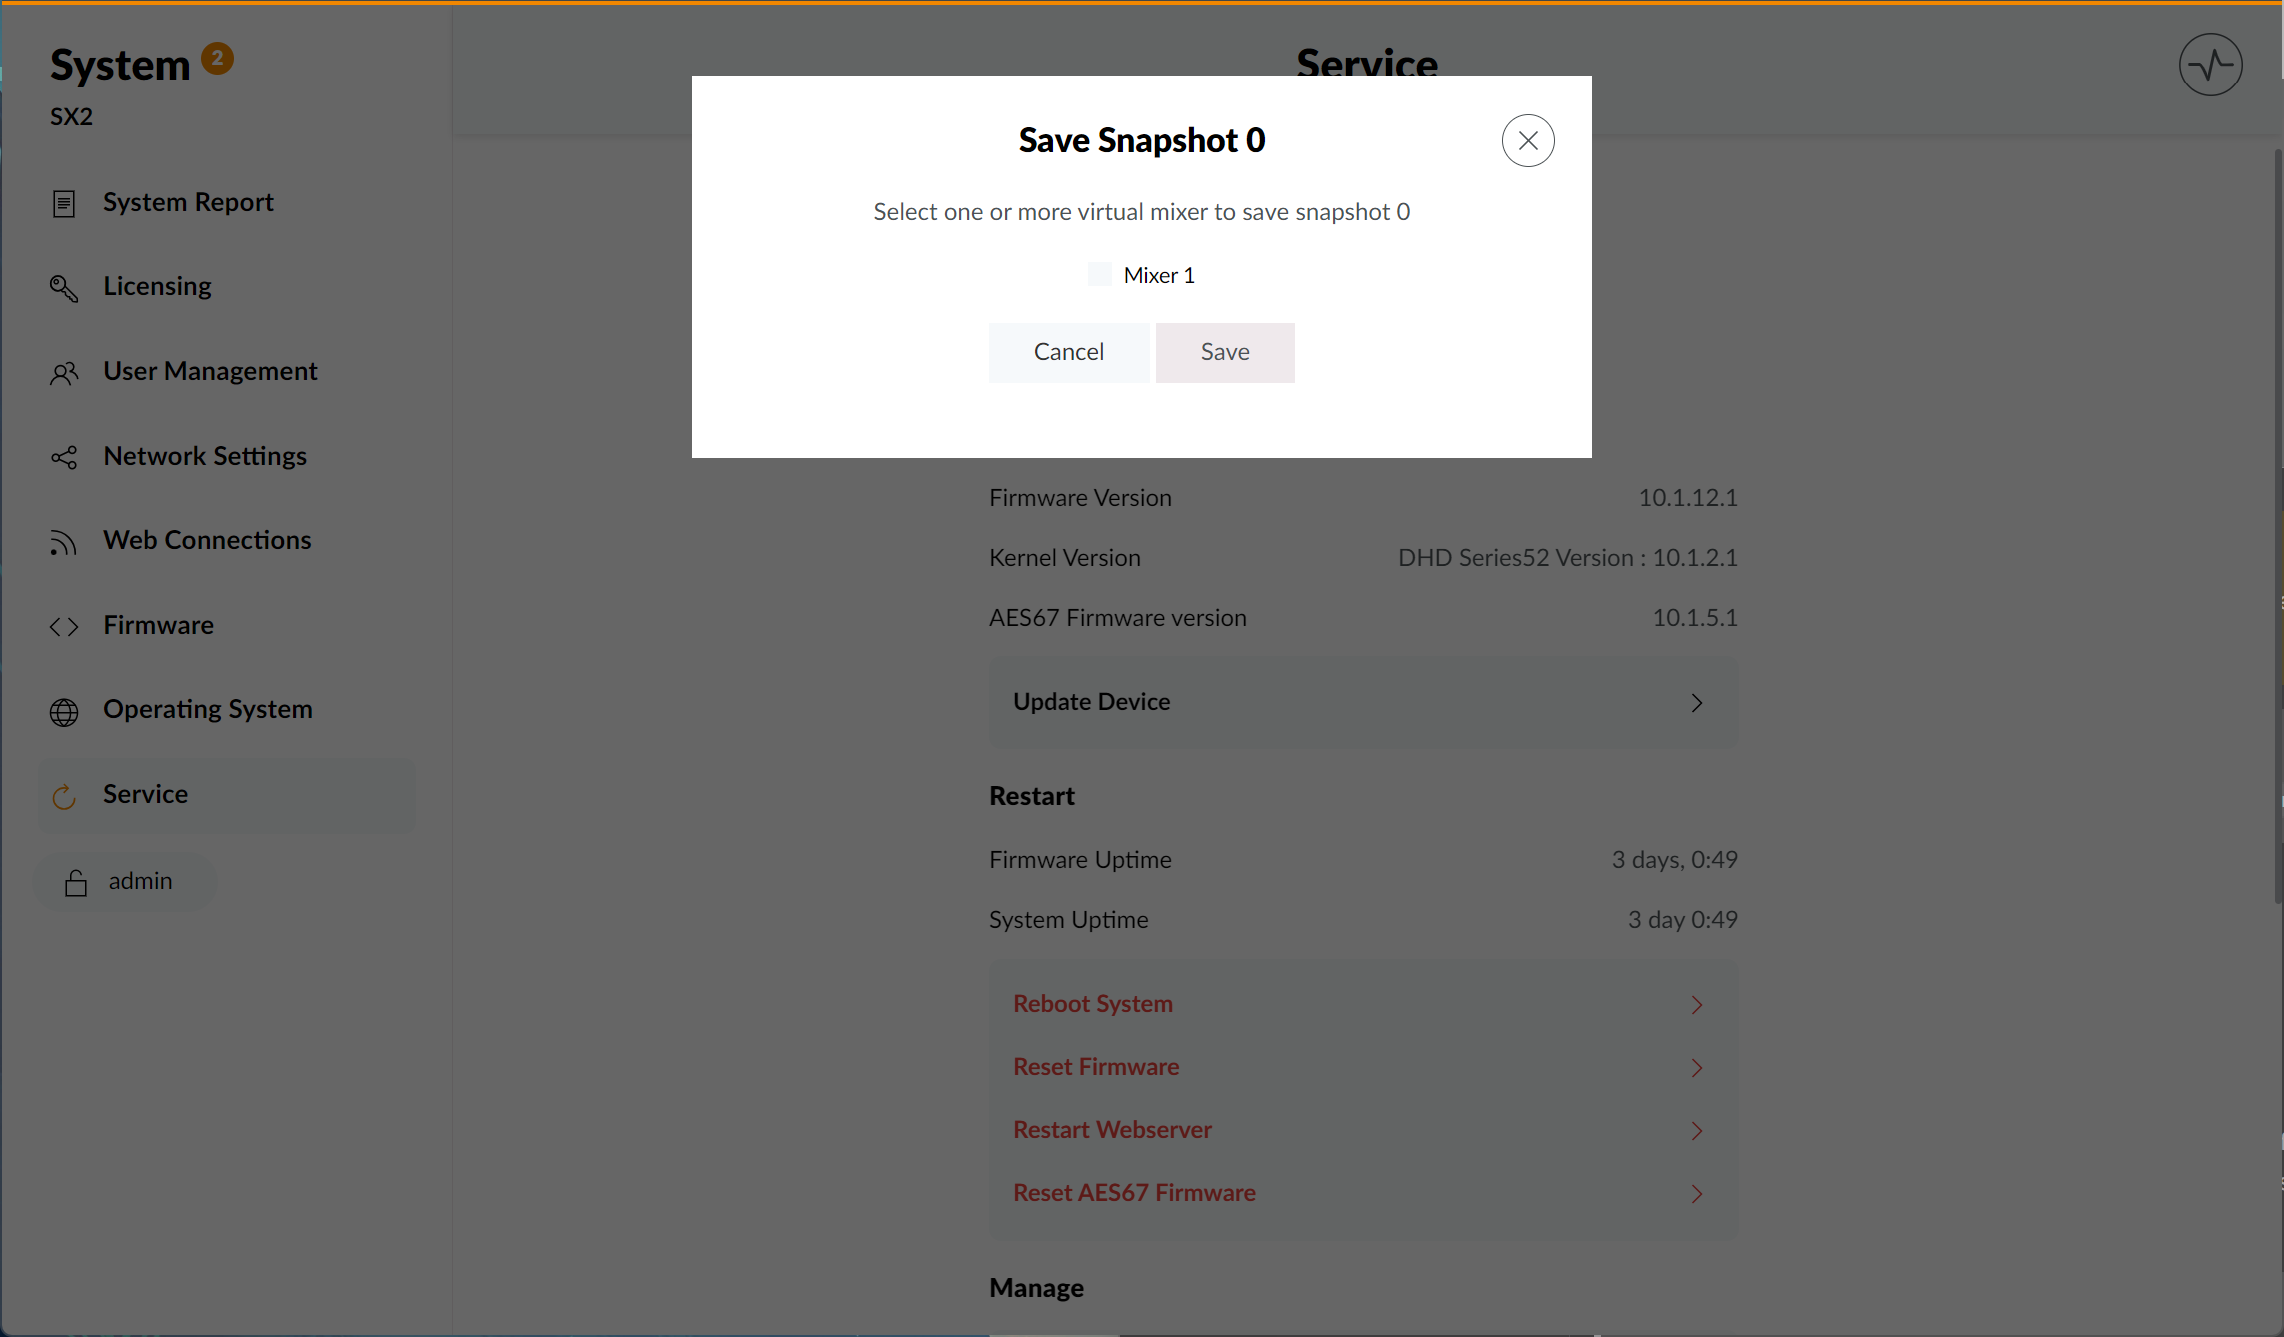
Save Snapshot 0
Clicking the Save Snapshot 0 button will open up the Save Snapshot 0 menu.
Here you can select one or more virtual mixers, of which a snapshot 0 will be saved.
See the Snapshot App Page for further information on using snapshots.
Be sure to confirm your decisions by clicking the Save button or leave the menu by clicking Cancel. Unsaved changes will not be taken over after leaving the Save Snapshot 0 menu. A notification will be displayed in green if the process is completed.
Factory Test
Toggling on Factory Test will put any connected device into factory test mode. This can be used to perform tests like proper function of hardware buttons, touchscreens, potentiometers or encoders.
Please be sure to toggle off Factory Test after running any tests.
Backup & Restore
To backup or restore your device or specific settings you can use the Backup Device and Restore Device menu options.

Click here for further information on using the Backup & Restore menus.